How to Perform CPR Step by Step: The Complete DRSABCD Guide (2026)
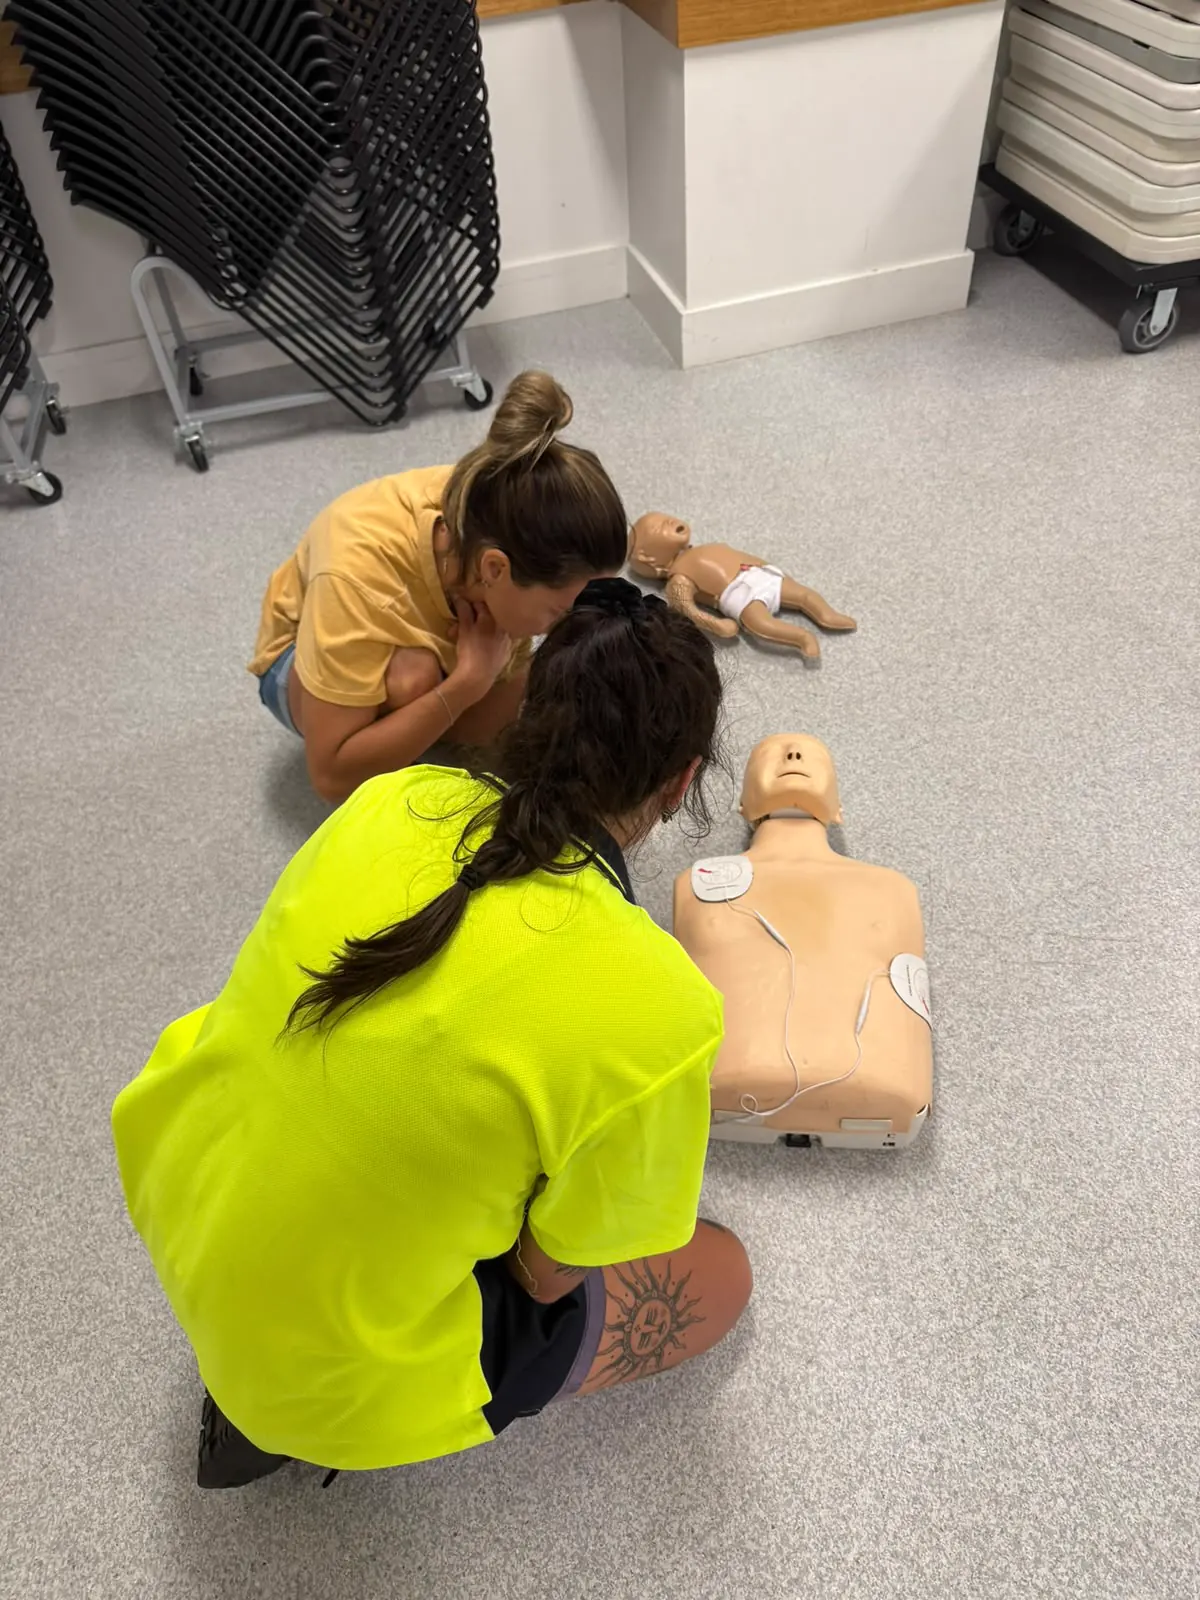
When someone collapses and stops breathing, the first two to three minutes are critical. Knowing how to perform CPR correctly - and having the muscle memory from practising on a manikin - is the difference between acting and freezing. This guide walks you through every step of the DRSABCD action plan used across Australia, covering adult, child, and infant CPR, AED use, and the most common mistakes that reduce your effectiveness.
Why People Search "How to Perform CPR"
Most people look up CPR technique for one of these reasons:
- They witnessed or nearly witnessed a cardiac arrest and want to be prepared next time.
- Their first aid certificate has lapsed and they want a refresher before rebooking.
- They are about to attend a CPR course and want to preview the content.
- They are a parent, carer, or teacher responsible for children or vulnerable people.
- Workplace compliance - their employer requires evidence of current CPR competency.
Reading this guide is a strong start. But CPR is a physical skill - correct compression depth, hand placement, and rhythm only become reliable after practising on a manikin under qualified supervision.
Book a CPR course: SKLD Training - check available dates on the Gold Coast
What Is DRSABCD?
DRSABCD is the Australian Resuscitation Council (ANZCOR) action plan for responding to an unresponsive casualty. Each letter stands for a step you complete in sequence before and during CPR. It is taught in the nationally recognised unit HLTAID009 Provide Cardiopulmonary Resuscitation and is embedded in all higher-level first aid qualifications.
| Letter | Step | What You Do |
|---|---|---|
| D | Danger | Check for hazards to yourself, bystanders, and the casualty before approaching |
| R | Response | Tap shoulders, shout "Can you hear me?" - check for any response |
| S | Send for help | Call 000 or direct a bystander to call - do not leave the casualty alone |
| A | Airway | Tilt head back, lift chin, look in the mouth and remove visible obstructions |
| B | Breathing | Look, listen, and feel for normal breathing for up to 10 seconds |
| C | CPR | Begin 30 compressions followed by 2 rescue breaths - continue until help arrives |
| D | Defibrillation | Attach an AED as soon as one is available and follow voice prompts |
Step-by-Step: Working Through DRSABCD
D - Danger
Before you touch the casualty, scan the scene. Look for traffic, electrical hazards, unstable structures, aggressive bystanders, or any ongoing risk. If it is not safe to approach, do not. Call 000 and wait for emergency services. A second victim does not help anyone.
R - Response
Kneel beside the casualty. Tap both shoulders firmly and shout "Are you okay? Can you hear me?" Watch for any eye movement, sound, or limb movement. If there is no response, proceed immediately to the next step.
S - Send for Help
Call 000 yourself or, if bystanders are present, point directly at one person and say "You - call 000 now." Being specific prevents bystander inaction. Ask a second bystander to locate a nearby AED. If you are alone, call 000 on speaker so the operator can guide you while you work.
A - Airway
Place one hand on the casualty's forehead and two fingers under the chin. Tilt the head back and lift the chin to open the airway. Look inside the mouth - if there is visible vomit or a foreign object you can reach, remove it carefully. Do not perform blind finger sweeps.
B - Breathing
Keep the airway open. Lean down and look along the chest, listen at the mouth and nose, and feel for breath on your cheek. Do this for no more than 10 seconds. Occasional gasps (agonal breathing) are not normal breathing - treat the casualty as if they are not breathing.
C - CPR
Position the heel of one hand on the centre of the chest (lower half of the breastbone). Place your other hand on top and interlock your fingers. Keep your arms straight and compress the chest to a depth of 5-6 cm at a rate of 100-120 compressions per minute. After 30 compressions, give 2 rescue breaths (maintain head tilt, pinch the nose, seal your mouth over theirs, and breathe until the chest rises). Continue at a 30:2 ratio. If you cannot or will not give breaths, compression-only CPR is still highly effective and is recommended over doing nothing.
D - Defibrillation
As soon as an AED arrives, turn it on and follow the voice prompts exactly. Attach the pads to bare skin as shown in the diagrams on the pads. Clear the casualty before each shock analysis and delivery. Resume CPR immediately after each shock and continue until the AED instructs otherwise or paramedics take over.
CPR Ratios for Adults, Children, and Infants
The technique differs depending on the size of the casualty. Using adult compression force on an infant, for example, can cause serious injury.
| Casualty | Hand Position | Compression Depth | Rate | Ratio |
|---|---|---|---|---|
| Adult (puberty+) | Two hands, centre of chest | 5-6 cm | 100-120 per minute | 30:2 |
| Child (1 yr to puberty) | One or two hands, centre of chest | One third of chest depth (approx. 5 cm) | 100-120 per minute | 30:2 (one rescuer) / 15:2 (two rescuers) |
| Infant (under 1 yr) | Two fingers, just below nipple line | One third of chest depth (approx. 4 cm) | 100-120 per minute | 30:2 (one rescuer) / 15:2 (two rescuers) |
For infants, the two-thumb encircling technique (used by two trained rescuers) is preferred because it achieves better compression depth and perfusion. In a one-rescuer situation, two fingers on the breastbone is the practical approach.
Get hands-on practice with all age groups: SKLD Training - book your HLTAID009 CPR course
Compression-Only CPR: When and How
If you are untrained, unwilling to give breaths, or the casualty is an adult who collapsed suddenly (likely cardiac cause), compression-only CPR is strongly supported by ANZCOR guidelines. Push hard and fast - 100-120 compressions per minute without stopping for breaths. Do not pause to check for a pulse. The quality of compressions drops significantly when rescuers stop and start, so maintain a steady rhythm. Compression-only CPR is less effective for children and infants, where respiratory arrest is a more common cause of collapse - attempt rescue breaths if you are able.
Common CPR Mistakes That Reduce Effectiveness
| Mistake | Why It Matters | How to Fix It |
|---|---|---|
| Compressions too shallow | Blood does not circulate to the brain and heart | Press down 5-6 cm for adults - lean your body weight over your hands |
| Not allowing full chest recoil | Prevents the heart from filling between compressions | Lift your weight off the chest after each compression without breaking hand contact |
| Stopping too often | Every pause drops perfusion pressure | Minimise all interruptions - switch rescuers every 2 minutes without stopping rhythm |
| Rate too slow or too fast | Below 100 is ineffective, above 120 reduces depth | Hum "Stayin' Alive" (103 bpm) to maintain rate |
| Wrong hand position | Compressions over the lower ribs or upper abdomen are ineffective and can cause injury | Use the centre of the chest, lower half of the breastbone |
| Rescue breaths too forceful | Over-inflation causes gastric regurgitation | Give just enough breath to see the chest rise - approximately 1 second per breath |
| Delaying AED attachment | Every minute without defibrillation reduces survival by 7-10% | Attach the AED immediately when available - do not wait for CPR to "work" first |
Why Practice on a Manikin Matters
Reading about CPR and performing it under stress are two different things. Muscle memory - built through repeated physical practice - is what allows you to act immediately without hesitating over depth, rate, or hand placement. A qualified instructor can observe your technique, give real-time feedback on compression depth, and correct recoil issues that you cannot detect yourself. Online-only CPR training does not develop this capability. ANZCOR guidelines and the nationally recognised HLTAID009 unit both require a practical component for this reason.
The Gold Coast has a high density of AEDs in shopping centres, gyms, sports clubs, and workplaces. Knowing how to use one alongside CPR is an equally important skill covered in your course. Locations covered by SKLD Training include Southport, Surfers Paradise, Robina, Burleigh Heads, Helensvale, and Coomera.
Frequently Asked Questions
How many compressions per minute in CPR?
The correct rate is 100 to 120 compressions per minute for adults, children, and infants. This is consistent with ANZCOR guidelines. Going below 100 reduces the blood flow generated. Going above 120 tends to compromise compression depth because the rescuer does not have time to push down far enough and allow full chest recoil. A practical way to pace yourself is to count aloud or use a familiar song around 100-110 bpm.
What does DRSABCD stand for?
DRSABCD stands for Danger, Response, Send for help, Airway, Breathing, CPR, Defibrillation. It is the structured action plan used across Australia for responding to an unresponsive casualty. Working through each step in order ensures you do not skip critical assessments - for example, opening the airway before checking for breathing, or calling for help before beginning compressions.
Can you perform CPR without mouth-to-mouth?
Yes. Compression-only CPR is a recognised and effective technique for adult casualties, particularly those who have experienced a sudden cardiac arrest. ANZCOR supports compression-only CPR when the rescuer is untrained or unwilling to give rescue breaths. For children and infants - whose arrest is more likely to be caused by a respiratory problem - rescue breaths are more important, and should be attempted if you are able. Compression-only CPR is always better than no CPR at all.
What is the correct compression depth for adults?
For adults, compress the chest to a depth of 5 to 6 centimetres (approximately one third of the chest depth). This requires firm, deliberate pressure - most untrained rescuers apply too little force. To achieve adequate depth, position yourself directly above the casualty, keep your arms straight, and use your body weight rather than just your arm strength. Allow the chest to fully recoil between each compression.
When should you stop CPR?
You should continue CPR until one of the following occurs: paramedics or a doctor takes over; the casualty shows clear signs of life such as normal breathing, coughing, or deliberate movement; you are physically unable to continue; or a medical professional directs you to stop. Do not stop to check for a pulse during CPR - this causes unnecessary interruptions. If you are alone and becoming exhausted, call 000 again for guidance.
Do you need training to perform CPR?
You are legally protected as a bystander when you attempt CPR in good faith, even without formal training. However, training significantly improves the quality and effectiveness of your CPR. The nationally recognised HLTAID009 Provide Cardiopulmonary Resuscitation course covers all DRSABCD steps, adult and infant CPR, and AED use in a short practical session. It is recommended annually. Book your CPR course with SKLD Training to build the confidence and muscle memory that makes a real difference in an emergency.
Training and assessment delivered on behalf of Allens Training Pty Ltd RTO 90909.
Sources
Related Articles
Heart Attack vs Cardiac Arrest: What Is the Difference and How to Respond (2026)
A heart attack and a cardiac arrest are not the same thing - and the wrong response can cost a life. This guide explains the key differences, warning signs for each, the correct first aid actions, and how a heart attack can lead to cardiac arrest if not managed quickly.
Read more →The Recovery Position: How to Do It and When to Use It (2026)
The recovery position keeps an unconscious person's airway clear and prevents choking on vomit or fluids. It is one of the most important and most commonly misunderstood first aid skills. This guide walks through when to use it, the correct technique step by step, and when NOT to roll someone.
Read more →First Aid Training for Real Estate and Property Management Teams on the Gold Coast & Brisbane: Who Needs It, What's Covered, and How to Schedule Around Inspection Rosters
Real estate agencies and property management teams often overlook first aid training because incidents seem rare. They're not. Office and on-inspection risks are real - and CPR and first aid currency is a basic WHS obligation. This guide explains unit requirements, scheduling for inspection-heavy rosters, and which Gold Coast and Brisbane real estate businesses commonly book.
Read more →Ready to Book Your Training
SKLD Training delivers nationally recognised first aid courses directly to your Gold Coast workplace.
View Available Dates